M系列Mac搭建Pwn环境

M系列Mac搭建Pwn环境

虚拟机使用UTM,系统为Ubuntu 20.04
其他虚拟机还试过Multipass、Parallels Desktop,
还有Docker,但是都会遇到一些问题。

而UTM是基于QEMU的,可以模拟ARM、x86、x86_64等架构,

1. 安装UTM和Ubuntu

UTM官方地址:https://github.com/utmapp/UTM

Mac版本地址:https://mac.getutm.app/
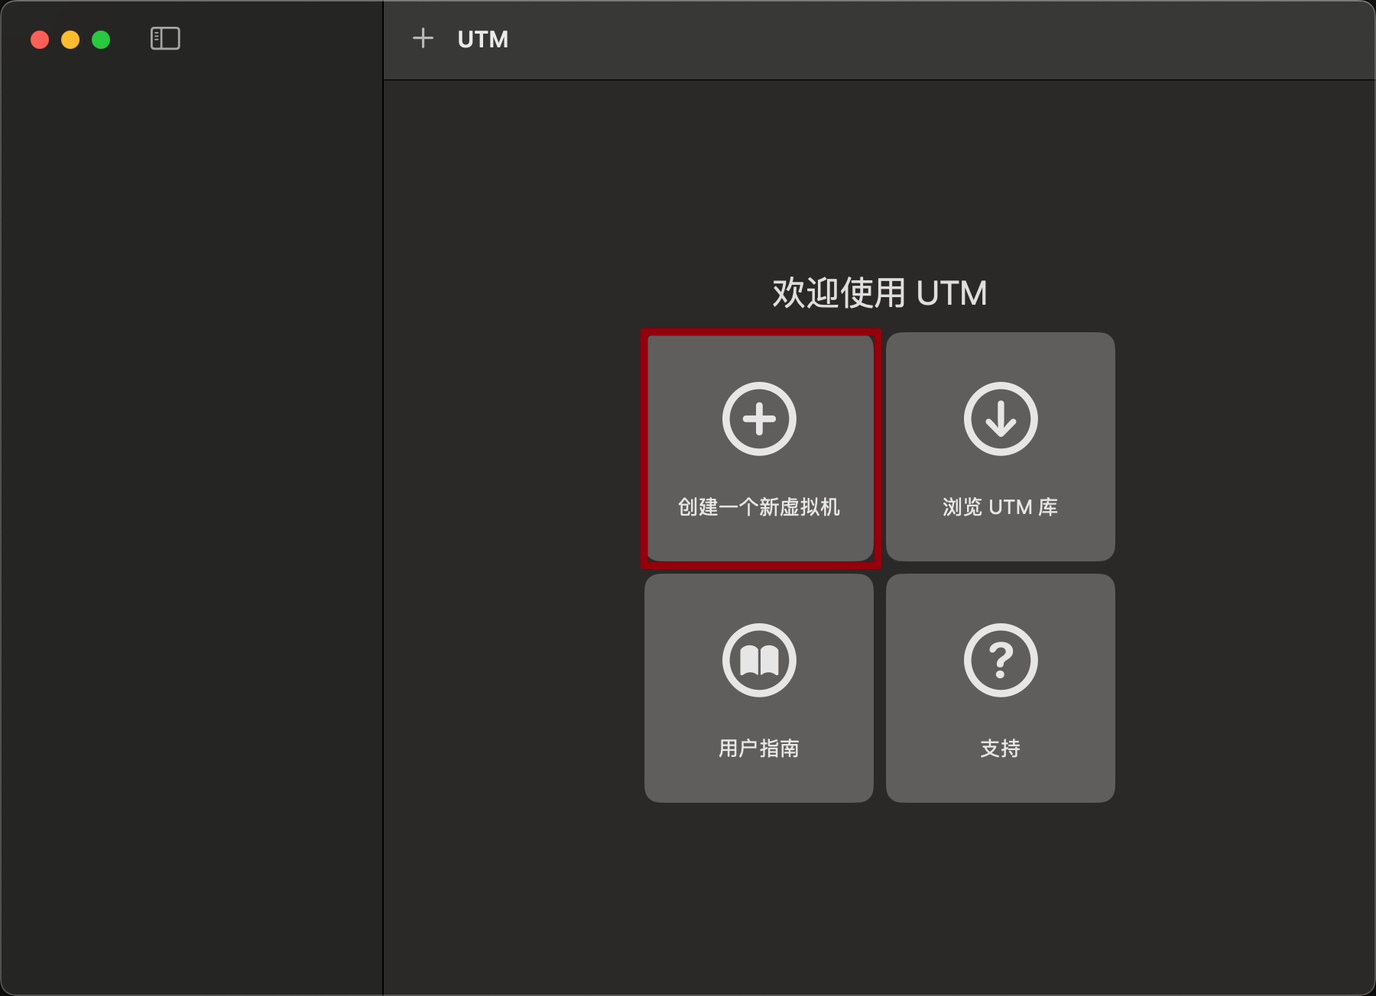
因为要模拟x86_64架构,所以选择模拟,
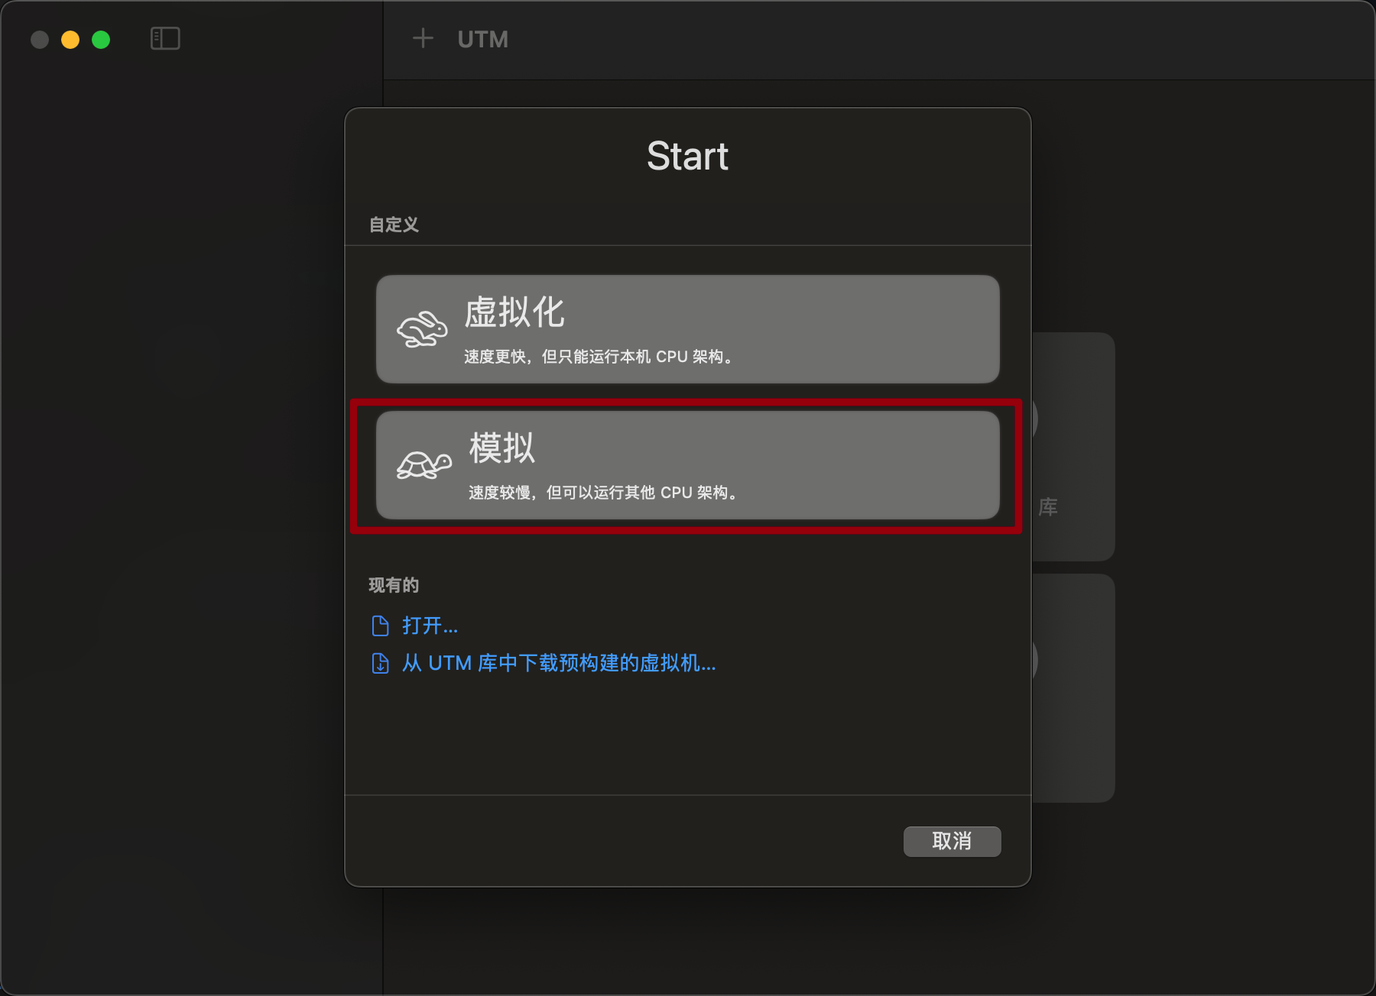
选择操作系统:
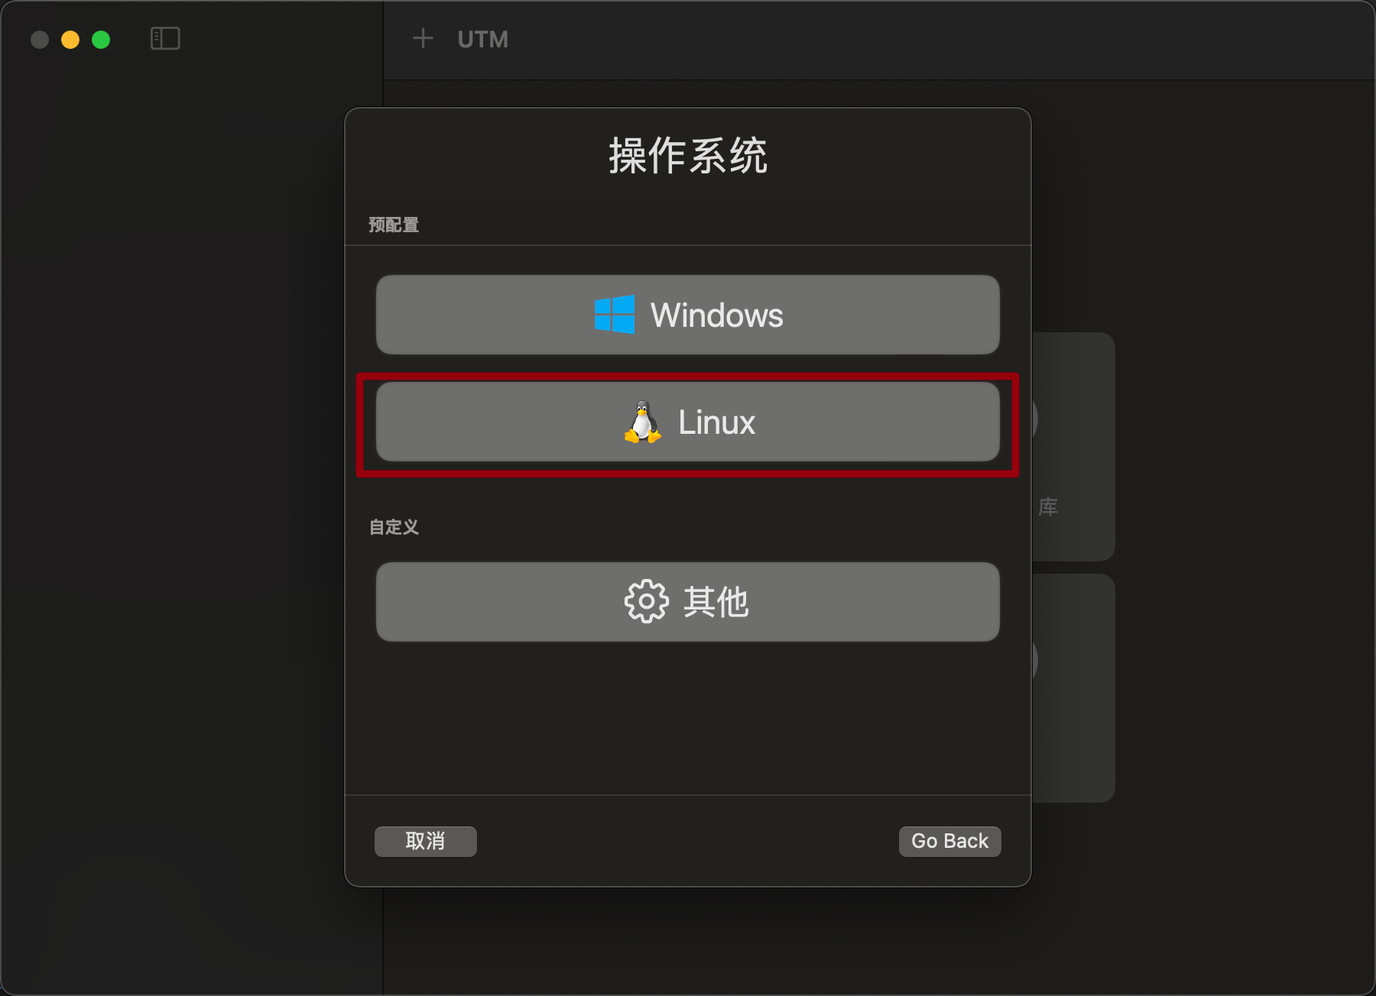
浏览镜像:
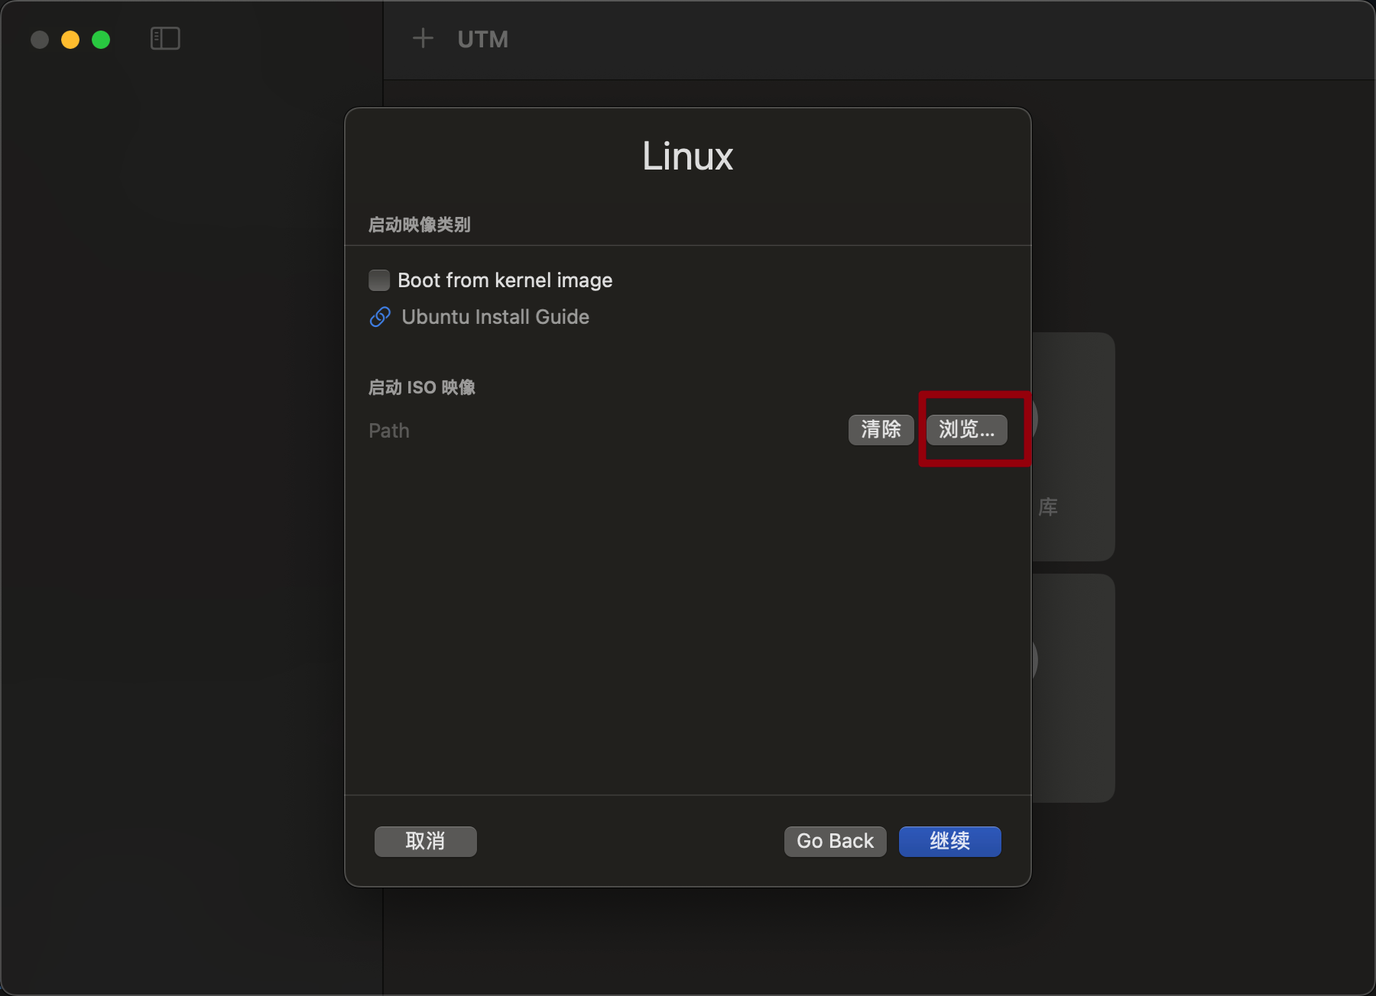
配置硬件,一般保持默认就好
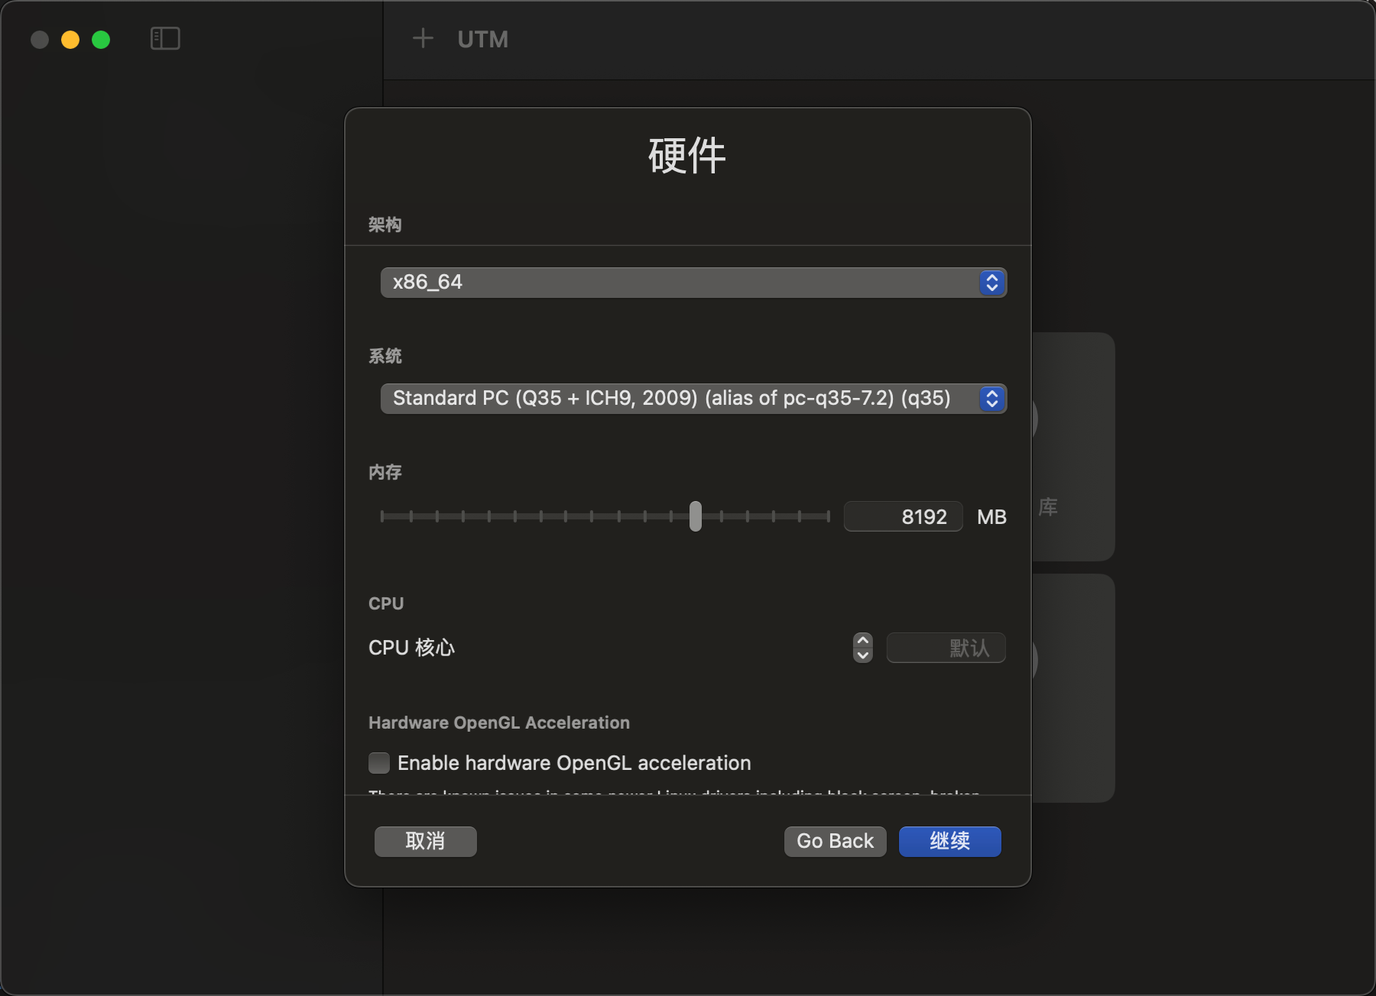
设置硬盘大小

修改下虚拟机名称,然后保存就可以了。
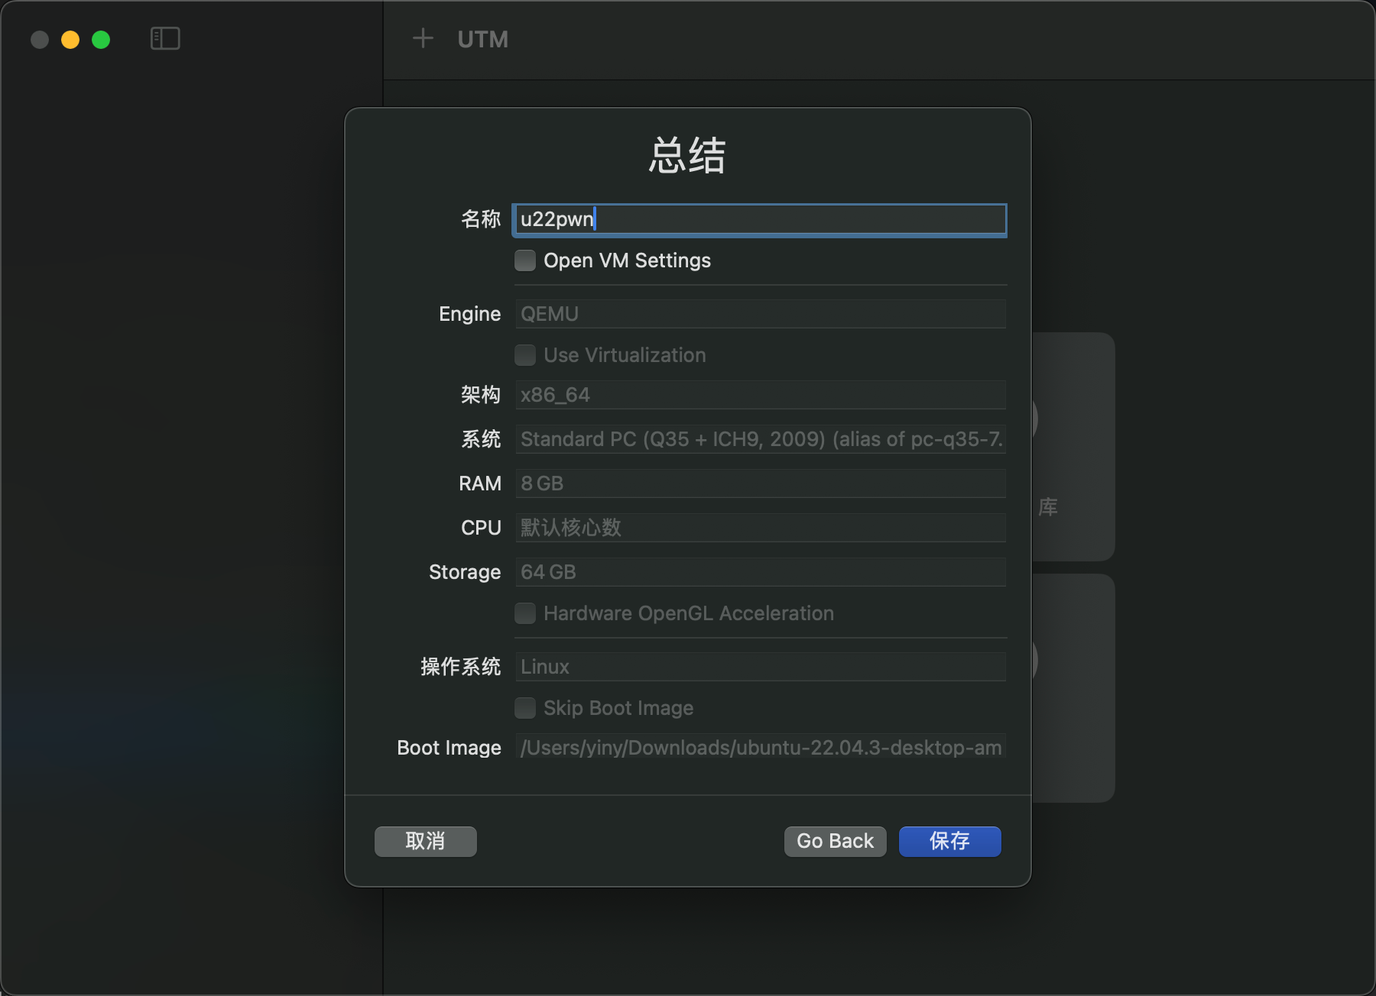
配置系统

系统安装好之后因为桌面环境巨卡,建议关掉桌面环境,
使用命令行模式。

1. 配置远程ssh

1
2
3
4
5
6
7
8
9
10
11
12
13
14
15
16
17
18
19
20
21
22
23
24
25
26
27
28
29
30
31
32
33
34
35
36
37
38
# 安装net-tools
sudo apt install net-tools

# 安装openssh-server
sudo apt install openssh-server -y

# 启动ssh服务
sudo systemctl start ssh

# 设置开机自启
sudo systemctl enable ssh

# 查看状态
sudo systemctl status ssh

# 配置防火墙允许SSH
sudo ufw allow ssh


# 重启防火墙并重新加载配置
sudo ufw enable && sudo ufw reload

# 修改/etc/ssh/sshd_config文件
# 将PermitRootLogin prohibit-password改为PermitRootLogin yes
# 将PasswordAuthentication no改为PasswordAuthentication yes

# 重启ssh服务
sudo systemctl restart ssh

# 生成ssh密钥
ssh-keygen -t rsa -b 4096

# 本地mac添加免密配置
cd ~/.ssh
ssh-copy-id -i id_rsa.pub geekhour@192.168.105.13

# 添加本地mac免密登录alias
alias u22='ssh geekhour@192.168.105.13'

更换apt源

1
2
3
cd /etc/apt
sudo cp sources.list sources.list.bak
sudo vim sources.list

添加清华源

1
2
3
4
5
6
7
8
9
10
deb https://mirrors.tuna.tsinghua.edu.cn/ubuntu/ jammy main restricted universe multiverse
deb https://mirrors.tuna.tsinghua.edu.cn/ubuntu/ jammy-updates main restricted universe multiverse
deb https://mirrors.tuna.tsinghua.edu.cn/ubuntu/ jammy-backports main restricted universe multiverse
deb https://mirrors.tuna.tsinghua.edu.cn/ubuntu/ jammy-security main restricted universe multiverse
deb https://mirrors.tuna.tsinghua.edu.cn/ubuntu/ jammy-proposed main restricted universe multiverse
deb-src https://mirrors.tuna.tsinghua.edu.cn/ubuntu/ jammy main restricted universe multiverse
deb-src https://mirrors.tuna.tsinghua.edu.cn/ubuntu/ jammy-updates main restricted universe multiverse
deb-src https://mirrors.tuna.tsinghua.edu.cn/ubuntu/ jammy-backports main restricted universe multiverse
deb-src https://mirrors.tuna.tsinghua.edu.cn/ubuntu/ jammy-security main restricted universe multiverse
deb-src https://mirrors.tuna.tsinghua.edu.cn/ubuntu/ jammy-proposed main restricted universe multiverse

更新源

1
2
sudo apt update
sudo apt upgrade

安装proxychains

安装proxychains,使得UTM虚拟机内的网络可以通过本地mac的代理上网
这样git clone、apt install等命令的速度就会快很多。

1
sudo apt install proxychains

配置代理

1
2
mkdir ~/.proxychains
cd ~/.proxychains

vim proxychains.conf 编辑proxychains.conf
添加如下内容:

1
2
3
4
5
6
7
8
9
10
strict_chain
proxy_dns
remote_dns_subnet 224
tcp_read_time_out 15000
tcp_connect_time_out 8000
localnet 127.0.0.0/255.0.0.0
quiet_mode

[ProxyList]
socks5 192.168.105.1 7890

其中,192.168.105.1: 7890 是本地mac的ip和代理端口。
clash中要勾选“允许局域网连接”。

测试:

1
2
3
4
5
# 不使用代理查看ip
curl ip.gs

# 使用代理查看ip
proxychains curl ip.gs

安装工具

1. 安装pwntools

1
2
3
4
5
6
7
8
9
# 安装基础工具
sudo apt install git
sudo apt install vim

# 安装pip
sudo apt install python3-pip -y

# 安装pwntools
pip3 install pwntools -i https://pypi.tuna.tsinghua.edu.cn/simple

2.安装peda、pwndbg、Pwngdb

将peda、pwndbg、Pwngdb放到tools目录下

1
2
3
4
5
mkdir tools;
cd tools;
git clone git@github.com:longld/peda.git
git clone git@github.com:pwndbg/pwndbg.git
git clone git@github.com:scwuaptx/Pwngdb.git

安装pwndbg,这里有两个坑:

  1. setup.sh脚本使用如下语句检测python的位置

    1
    PYTHON=${PWNDBG_VENV_PATH}/bin/python

    而ubuntu22.04 的/usr/bin目录下并没有python,而是python3,
    所以需要在添加一个软链接

    1
    2
    cd /usr/bin;
    sudo ln -s python3 python
  2. 安装pwndbg时,会卡在setup.shpip install处,需要修改setup.sh文件。

    1
    2
    cd pwndbg
    vi setup.sh

    在第194行位置的pip install 后面加上-i https://pypi.tuna.tsinghua.edu.cn/simple,如下所示:

    1
    2
    194 #${PWNDBG_VENV_PATH}/bin/pip install -e .
    195 ${PWNDBG_VENV_PATH}/bin/pip install -e . -i https://pypi.tuna.tsinghua.edu.cn/simple

    否则setup.sh会卡住,无法安装成功。

然后执行setup.sh脚本安装就可以了。

如果报错,pip重新安装指定的包就可以了。

1
pip install -i https://pypi.tuna.tsinghua.edu.cn/simple launchpadlib

配置Pwngdb

1
2
3
cd ~/tools/Pwngdb
cp .gdbinit ~/
vim ~/.gdbinit

添加如下内容

1
2
3
4
5
6
7
8
9
10
11
#source ~/tools/peda/peda.py
source ~/tools/pwndbg/gdbinit.py
source ~/tools/Pwngdb/pwngdb.py
source ~/tools/Pwngdb/angelheap/gdbinit.py

define hook-run
python
import angelheap
angelheap.init_angelheap()
end
end

3. 安装seccomp-tools

seccomp-tools是一个用于查沙盒的工具。

1
2
sudo apt install gcc ruby-dev
sudo gem install seccomp-tools

4. 安装ropper

1
pip install ropper

5. 安装qemu(系统内核题)

1
sudo apt install qemu-user qemu-system

6. glibc-all-in-one

1
2
3
4
git clone https://github.com/matrix1001/glibc-all-in-one.git
cd glibc-all-in-one
vim update_list
改为#!/usr/bin/python3

添加下载脚本并执行

1
2
3
4
5
6
#!/bin/bash
for i in `cat list`
do
echo $i
./download $i
done

执行完成之后,会在libs目录下生成对应的libc文件。

1
2
3
4
5
6
7
8
9
10
11
12
13
#更新最新版本的glibc
./update_list
#查看可下载的glibc
cat list
#根据题目所给的libc,找对应版本的连接器,并下载该连接器
./download 2.23-0ubuntu11.3_amd64
#下载好的libc就在libs目录下
ls libs/2.23-0ubuntu11.3_amd64/
#把ld文件和libc复制到pwn题目录下

#一般来说使用时把标记的ld-2.23.so和libd-2.23.so拷贝在程序目录下即可
#.debug文件用于gdb调试
#在gdb设置setdebugf

7. 安装patchelf

patchelf可以修改elf文件的依赖库路径,可以用来解决libc版本不一致的问题。

1
2
3
4
5
6
7
8
9
10
11
12
13
14
15
16
17
18
git clone https://github.com/NixOS/patchelf.git
cd patchelf
./bootstrap.sh
# 报错找不到autoconf,安装一下:
sudo apt install -y dh-autoreconf
./bootstrap.sh
./configure
make
make check
sudo make install
#使用
#查看题目原来的libc和ld “easyheap”为可执行程序 此处为例子
ldd easyheap
#替换libc
patchelf --replace-needed libc.so.6 ./libc-2.23.so ./easyheap
#设置ld文件
patchelf --set-interpreter ./ld-2.23.so ./easyheap

8. 安装zstd

1
sudo apt install zstd

9. 安装radare2

1
2
3
proxychains git clone git@github.com:radareorg/radare2.git
cd radare2
sys/install.sh

其他工具

1
2
3
4
5
one_gadget
ROPgadget
libc-database
angr
z3-solver

pwn常用命令

  • nm查看程序中的符号信息

    1
    2
    3
    4
    5
    6
    7
    8
    9
    10
    11
    12
    13
    14
    15
    16
    nm timu
    U atoi@@GLIBC_2.2.5
    0000000000202010 B __bss_start
    0000000000202038 b completed.7696
    0000000000000a94 T create
    w __cxa_finalize@@GLIBC_2.2.5
    0000000000202000 D __data_start
    0000000000202000 W data_start
    0000000000000b5f T delete
    0000000000000840 t deregister_tm_clones
    00000000000008d0 t __do_global_dtors_aux
    0000000000201d80 d __do_global_dtors_aux_fini_array_entry
    0000000000202008 D __dso_handle
    0000000000201d88 d _DYNAMIC
    0000000000202010 D _edata
    0000000000202078 B _end
  • checksec查看程序的保护机制

    1
    2
    3
    4
    5
    6
    7
    geekhour@geekhour:~/ctf$ checksec timu
    [*] '/home/geekhour/ctf/timu'
    Arch: amd64-64-little
    RELRO: Full RELRO
    Stack: Canary found
    NX: NX enabled
    PIE: PIE enabled
  • strings查看程序中的字符串

    1
    strings timu
  • objdump查看程序的汇编代码

    1
    objdump -d timu
  • readelf查看程序的elf头信息

    1
    2
    3
    4
    5
    6
    7
    8
    9
    10
    11
    12
    13
    14
    15
    16
    17
    18
    19
    20
    21
    geekhour@geekhour:~/ctf/xctf$ readelf -h hello_pwn
    ELF Header:
    Magic: 7f 45 4c 46 02 01 01 00 00 00 00 00 00 00 00 00
    Class: ELF64
    Data: 2's complement, little endian
    Version: 1 (current)
    OS/ABI: UNIX - System V
    ABI Version: 0
    Type: EXEC (Executable file)
    Machine: Advanced Micro Devices X86-64
    Version: 0x1
    Entry point address: 0x400590
    Start of program headers: 64 (bytes into file)
    Start of section headers: 4488 (bytes into file)
    Flags: 0x0
    Size of this header: 64 (bytes)
    Size of program headers: 56 (bytes)
    Number of program headers: 9
    Size of section headers: 64 (bytes)
    Number of section headers: 29
    Section header string table index: 28
  • ltrace查看程序的库函数调用

    1
    geekhour@geekhour:~/ctf/xctf$ ltrace ./hello_pwn
  • strace查看程序的系统调用

    1
    geekhour@geekhour:~/ctf/xctf$ strace ./hello_pwn
  • 生成pwn脚本

    1
    2
    3
    4
    # 生成pwn脚本
    pwn template ./hello_pwn
    # 生成pwn脚本并连接远程服务器
    pwn template ./hello_pwn --host localhost --port 9999